


How To Turn Your Spare Room Into The Perfect Home Studio for all of your social media needs
 A lot of content creators, all with different sized audiences, work from home. The higher your channel rises in popularity, the higher your viewers’ expectations become. You can improve the overall quality of your videos without leaving the house by creating a home studio.
Here’s how to turn your spare room into the perfect home studio.
1. Start with soundproofing.
The main problem with home studios is noise. The hum of your refrigerator, the whir of a ceiling fan, the phone conversations of your roommates, and the traffic outside can all contribute to background noise. All of that unnecessary background noise takes a toll on your videos’ audio quality.
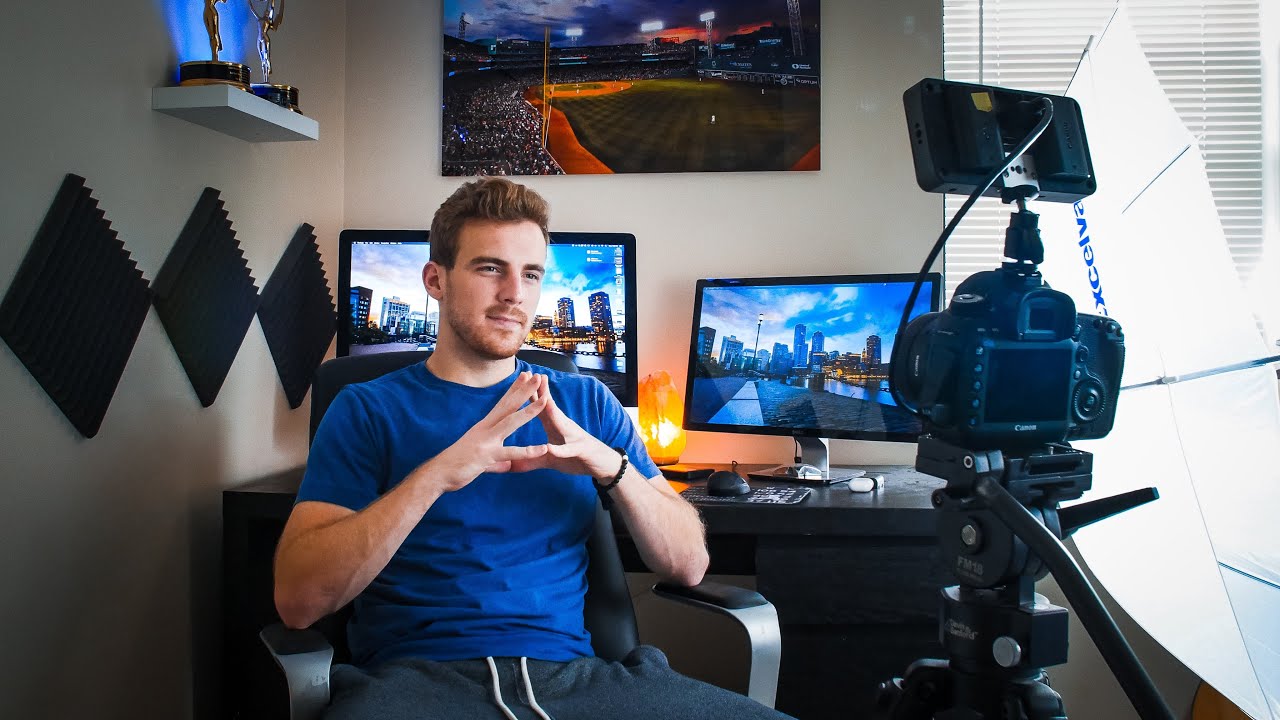
So, your first priority should be sound-dampening. The best thing you can do is line the walls of your new studio with acoustic panels, which are meant to absorb sound. You can also add a rug and plush furniture to help absorb sound.
You don’t need to shell out hundreds of dollars for professional-grade acoustic panels. You can save money by DIYing your own with the instructions in the video below.
2. Work with your natural lighting.
Next, you need to map out a lighting plan for your studio. Use any windows in the room as anchor points. Your filming space should be perpendicular to any windows rather than directly in front of them. Then, you’ll be able to make use of natural light without any halo effects or washing out on camera. You should also hang blackout curtains so you can cut the light when you need to.
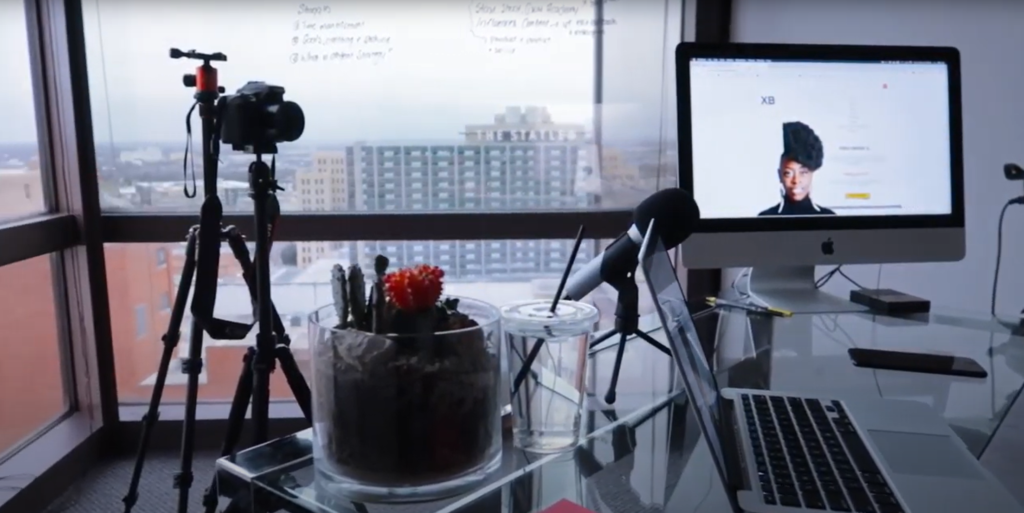
Set a ring light or another strong studio light directly in front of your filming space. This will be your key light. Then, arrange other lamps and light fixtures to fill in any shadows. To add extra interest, play around with LED colored lights as well.
3. Design a cute and comfortable filming space.
Now, it’s time to design the space viewers will actually see on camera. Start with a simple but eye-catching background. You might paint the wall behind you a bright color or hang a tapestry. If you want to change your background up periodically, consider using a backdrop stand and seamless paper rolls.
Next, add a chair and a table of some sort. Choose furniture that is comfortable but also coordinates with your background. You might buy a desk and a chair as a matching set, or you could purchase them separately. Check out thrift stores and yard sales to find good deals.
Then, you can accessorize your space. Incorporate your channel’s personality into your design. For example, if you’re a beauty guru, you might add a sparkly mirror on your desk. If you just hit a new channel milestone, you could hang your YouTube play button up.
4. Set up your camera gear.
Once your filming space is established, you can start arranging your camera equipment. Having a dedicated studio space means your gear can stay out instead of needing to be rearranged every time, so filming videos will be much easier.

Have a friend or family member who’s about your height sit in your filming space so you can adjust your tripod and camera lens. Then, adjust any second-angle cameras, flags, bounce boards, or other equipment you want to use.
You should also make a charging station for your gear so that you don’t have to worry about your camera dying in the middle of a video. Follow the tutorial below.
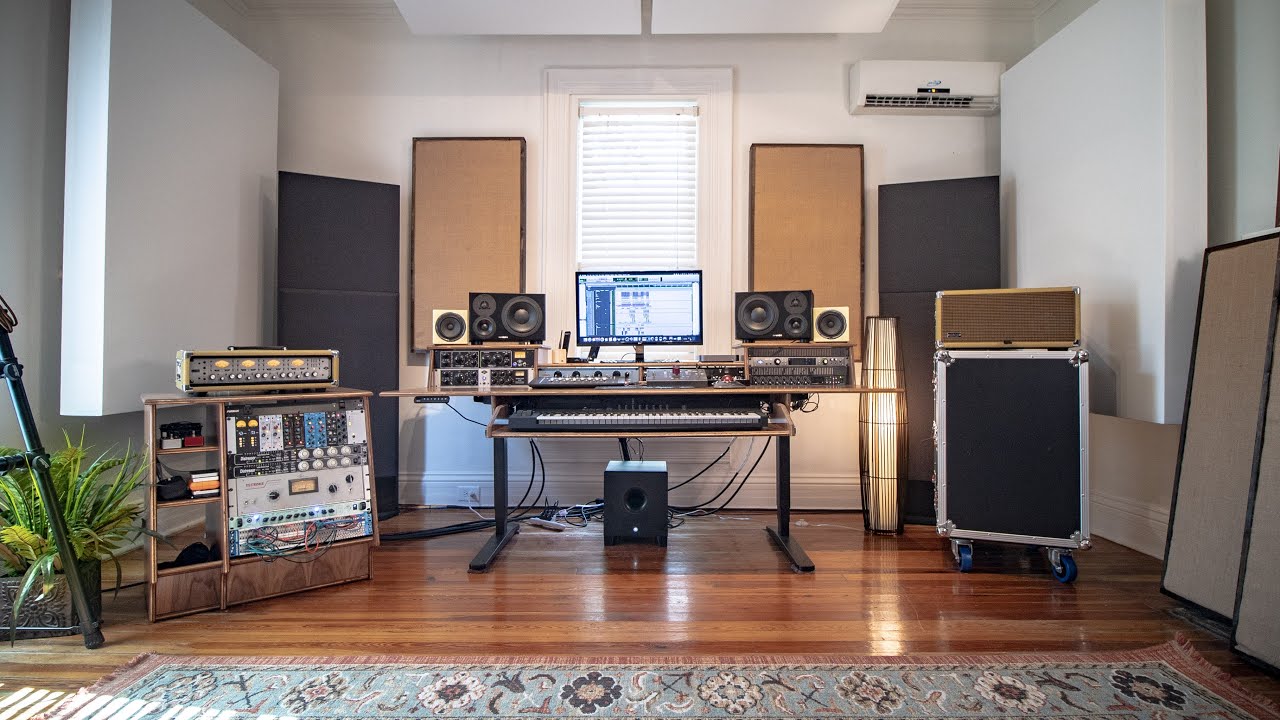
5. Transform the other half of the room into an editing suite.
Your home studio can be more than a filming space. You can use half of the room behind the camera as an editing suite. That way, all of your YouTube-related business can be done in the same place.
The editing suite will be similar to a home office. Add a second desk for your computer as well as a comfortable desk chair. If you can’t place the desk next to an outlet, run an extension cord from the nearest outlet to your desk.
Equip your editing suite with headphones and an external hard drive. Watch video tours of other creators’ editing setups to get more ideas for designing your own.
6. Give yourself some storage space.
Finally, make sure your home studio has some storage space. Use a few plastic tubs to store video props and filming gear you won’t need every time you film. Be sure to label your boxes clearly, and arrange them so that the things you need the most are the easiest to get to.
You can also utilize filing cabinets or bookshelves. Dedicate a drawer, shelf, or tub to your SD cards so that they’re easy to find. Then, when you run out of storage space midway through filming, you won’t have to waste time clearing off the SD card in your camera.
While you’re organizing the equipment in your new home studio, make a pile of gear you no longer use or want. Sell anything you don’t need anymore to make room for equipment you might purchase in the future.
To improve the quality of your videos, create a professional home studio at home. The idea studio is soundproof, well-lit, and organized. Remember, it’s also your new work space, so make sure it’s comfortable and suits your personality as well.
Related Posts

How to Increase Facebook Engagement Without Running Ads